Choker necklaces have made a major comeback in the fashion world, adding a touch of elegance and sophistication to any outfit. Rather than spending a fortune on store-bought options, why not unleash your creativity and make your own DIY choker necklace? In this article, we’ll guide you through a quick and easy process to create a personalized choker that reflects your unique style.
Materials Needed
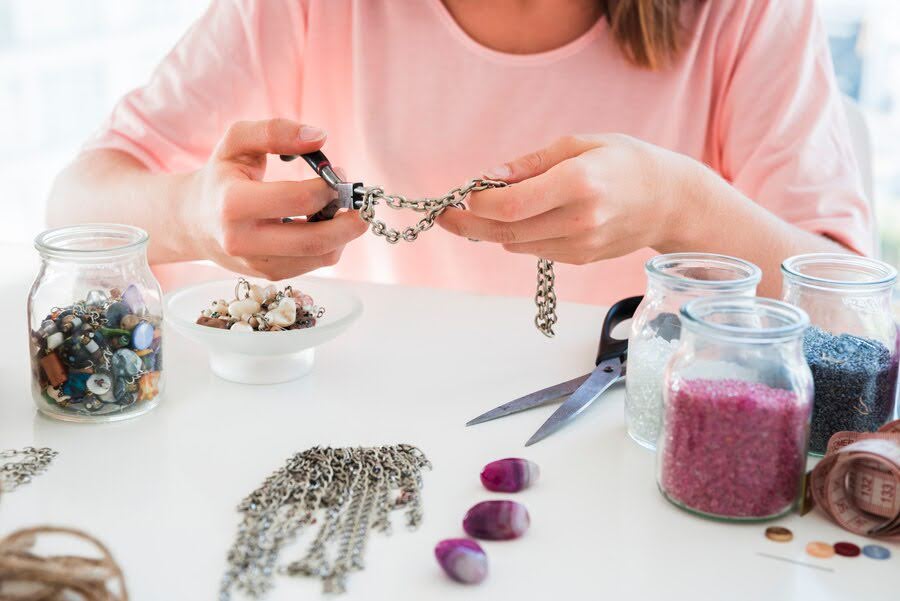
To get started on your DIY choker necklace, gather the following materials:
1. Ribbon or Lace: Choose a ribbon or lace of your preferred color and width. Consider velvet, satin, or lace options for a luxurious touch.
2. Clasps and Extenders: Purchase a set of choker clasps and extender chains, which will allow you to adjust the length of your necklace.
3. Decorative Charms: Look for small charms, pendants, or beads that complement your chosen ribbon or lace. These will add a personalized touch to your choker.

4. Scissors: A sharp pair of scissors will come in handy for cutting the ribbon or lace to your desired length.
5. Glue or Needle and Thread: Depending on the material you’re using, you’ll need glue or a needle and thread to secure the ends and attach the clasps.
Also Read: 10 DIY Tips For Hooded Eyes
Step-by-Step Guide
Follow these simple steps to create your own DIY choker necklace:
1. Measure and Cut: Wrap the ribbon or lace around your neck to determine the desired length of your choker. Add an extra inch for the clasps. Use scissors to cut the ribbon or lace to the appropriate length.
2. Attach Clasps: If your ribbon or lace has frayed ends, apply a small amount of glue to prevent further fraying. Attach the choker clasps to each end of the ribbon or lace using glue or by sewing them securely.
3. Add Extender Chain: If you’d like the option to adjust the length of your choker, attach an extender chain to one end of the choker clasp using a jump ring. This will allow you to wear your choker at different lengths, depending on your preference.
4. Decorate: Now it’s time to get creative! Choose your favorite charms, pendants, or beads to adorn your choker. Use jump rings to attach them to the center of the choker or at intervals along the ribbon or lace.
5. Finishing Touches: Take a moment to check the overall appearance of your DIY choker necklace. Ensure that all components are securely attached and that the length is suitable for your neck.
6. Try It On: Once you’re satisfied with the final result, try on your new choker and admire your handiwork! Adjust the extender chain if needed to achieve the perfect fit.
Style Tips
Here are a few styling tips to make the most of your DIY choker necklace:
1. Layering: Experiment with layering your choker necklace with other necklaces of varying lengths to create a trendy and eye-catching look.
2. Casual or Formal: Depending on the materials you choose, your choker can be dressed up or down. Opt for a delicate lace choker for a formal event, or a velvet ribbon choker for a more casual day-to-day style.

3. Personalize: Use charms or pendants that have personal meaning to you. This way, your DIY choker becomes a reflection of your individuality and story.
4. Color Coordination: Select ribbon or lace colors that complement your outfits. You can choose a neutral shade for versatility or bold colors to make a statement.
Conclusion
Creating your own DIY choker necklace allows you to unleash your creativity, express your personal style, and save money on store-bought options. With just a few simple materials and easy steps, you can design a unique and fashionable choker that perfectly suits your taste. So why wait? Grab your supplies, follow the guide, and enjoy the satisfaction of wearing a choker necklace that’s one-of-a-kind and crafted by you.